A degraded MacBook battery not only reduces runtime but can cause slowdowns or unexpected shutdowns. Whether you’re doing a DIY replacement or opting for Apple or a certified repair provider, following proper steps helps ensure safety and a successful swap.
Below is an approachable guide to safely do it yourself—or know when to go to a professional.
Identify Your MacBook Model
- Go to Apple menu ▸ About This Mac to view your model and year.
- Newer MacBook Pro (2016 and later) and many MacBook Air models have glued-in batteries, while older models (like pre‑2015) may allow screw‑in battery removal .
Choose Your Replacement Route
Apple or Certified Service
- Visit Apple Support’s “Battery service” page—Apple will replace the battery for a fee, though normal wear isn’t covered under warranty .
DIY via Trusted Guides
- iFixit provides detailed, model‑specific battery replacement guides (e.g. for 2015 MBP, 2019 16‑inch MBP, and 2021 14‑inch MBP) .
- With correct tools, the first replacement can take about 30 minutes .
- Components may need dissolving adhesive using isopropyl alcohol or plastic cards (especially for glued‑in batteries) .
Gather Tools & Parts
- Pentalobe or tri‑wing screwdrivers depending on your model:Retina MacBooks often require P5 (TS4) pentalobe bits for bottom case screws, and tri‑wing or special bits to remove glued‑in battery cells .
- Plastic pry tools, anti‑static mat or wrist strap, isopropyl alcohol or adhesive remover, and replacement battery matched to your MacBook model.
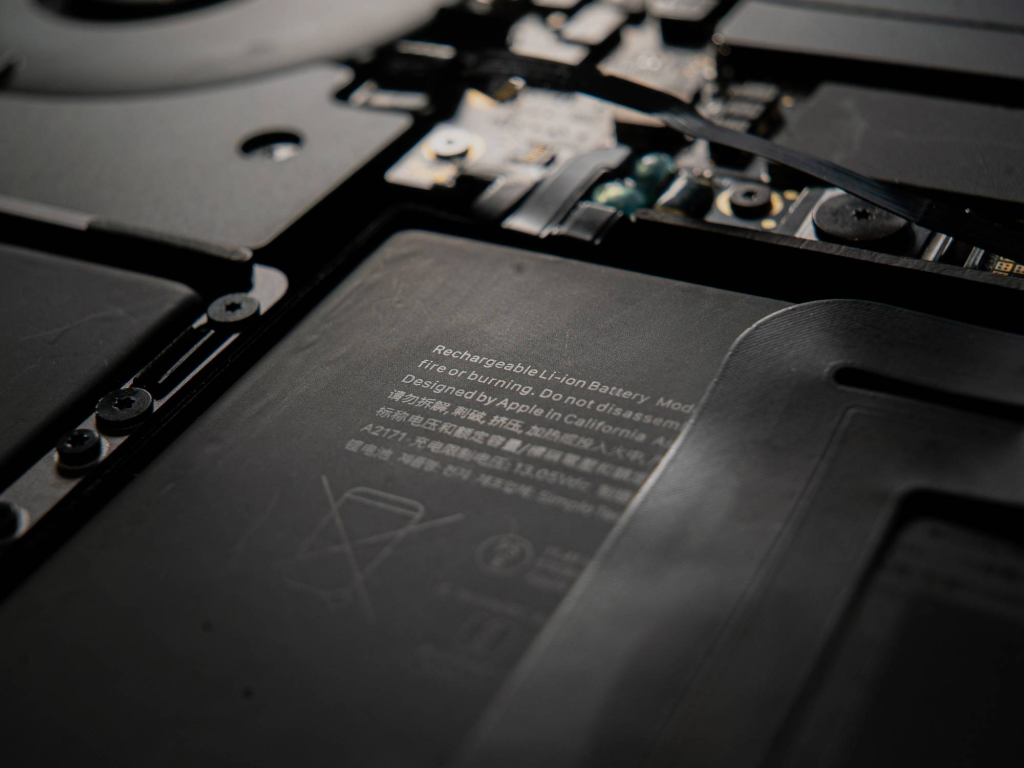
Step‑by‑Step Battery Swap
- Back up your data and fully power down the MacBook.
- Remove all screws from the bottom case and lift it off.
- Disconnect the battery from the logic board with a plastic pry tool.
- For glued batteries: soften adhesive strips with isopropyl alcohol, slide plastic cards underneath to lift gently .
- Unscrew any fastening screws if present.
- Carefully lift out the old battery.
- Install the new battery, reconnect the battery cable, reattach the lower cover, and tighten screws evenly.
Reassembly & Testing
- After reinstallation, power on and check battery status under System Settings ▸ Battery.
- Perform a full charge cycle to calibrate readings.
- Monitor for unexpected shutdowns or swelling over next few days.
Safety & Warranty Considerations
- Opening your MacBook yourself may void Apple’s warranty or AppleCare coverage, especially if you cause damage .
- Lithium‑ion batteries can be hazardous—avoid puncturing, bending, or exposing them to heat or static.
- If you’re uncomfortable at any step, it’s wise to get help from a trained technician or authorized service center.