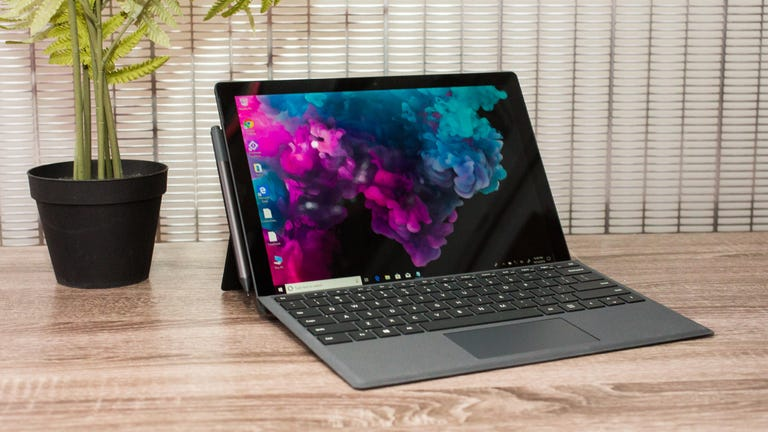
If your Microsoft Surface isn’t holding a charge like it used to, you’re not alone. Over time, all batteries wear out—and unfortunately, replacing the battery in a Surface device isn’t as simple as popping off the back cover.
In this post, we’ll walk you through the process of replacing the battery in a Surface device, based on hands-on experience and trusted repair guides.
Step 1: Gather Tools and Preparation
- Power off the Surface completely and ensure the battery is below 25% charge to reduce risk in case of accidental damage .
- You will need: heated iOpener or equivalent heat source, plastic opening picks, suction cup, plastic spudger, T‑series Torx screwdrivers (T3, T5), tweezers, adhesive remover or high‑concentration isopropyl alcohol, and pre‑cut adhesive strips for the battery (e.g. double‑sided tape like Tesa 61395) .
Step 2: Heat and Remove the Display
- Heat the edges of the display glass gently for 1–2 minutes per side using the iOpener or a heat gun; reheat as needed to soften the adhesive .
- Use a suction cup to lift a corner and insert a pick, sliding it around the perimeter to cut through display adhesive. Avoid inserting too deeply near ribbon cables.
- Carefully disconnect display ribbon cables before fully removing the glass panel .
Step 3: Internal Screws and Frame Disassembly
- Remove internal screws using T3 and T5 Torx drivers: typically 23 T3 screws securing a plastic bezel, plus additional screws on metal side panels and internal shields (T5, T2) .
- Remove side panels and EMI shields. Use tweezers and spudger tools to disconnect camera, speaker, power button, headphone jack cables, and other connectors as necessary .
Step 4: Remove the Logic Board (if required)
- Unscrew the logic board (around 17 T5 Torx screws in Surface Pro designs), gently lift it out, and set it aside .
Step 5: Access and Remove the Battery Pack
- Heat the battery connector region to soften adhesive .
- Using a spudger, carefully slide under the battery module’s edges. Work around with plastic cards or picks to detach the glued cells, especially starting from the top edge and working down, applying adhesive remover or isopropyl alcohol as needed .
- Do not reuse the old battery once removed, especially if damaged or swollen .
Step 6: Install the New Battery and Reassembly
- Place the new battery using fresh adhesive strips. Optionally clean the CPU heatsink and apply new thermal paste if that maintenance is desired .
- Reconnect connectors, reattach EMI shields, side panels, board screws, then carefully align and reattach the display glass using heat and adhesive as needed.
- Assemble in reverse order, torqueing screws in recommended patterns (e.g. heat sink screws in a criss‑cross manner) .
Safety Notes and Considerations
Surface devices rank very low in repairability due to heavy adhesive and many screws. Accidental cracking or connector damage is common .
If your Surface model isn’t officially supported for user-replaceable battery, consider a professional or Microsoft-authorized service.